

3 Easy DIY Pet Accessories with Wellness Natural Pet Food Packaging
This article was originally published on 4/13/2016.
Are you an eco-minded pet parent? Get creative with one of these fun and easy DIY pet accessories, brought to you exclusively by recycling leader, TerraCycle! If crafting isn’t your thing, you can still do your part to support the environment.
As the first US-based pet food brand to partner with TerraCycle, Wellness pet parents can recycle their pets favorite Wellness recipes for free, including our Wellness Complete Health dry recipes, Wellness CORE dry recipes and Wellness TruFood dry recipes for both dogs and cats. Sign up here to get started, and you’ll begin accumulating points for all you recycle–points that can be used to support your favorite non-profits!
Easy DIY Pet Accessories
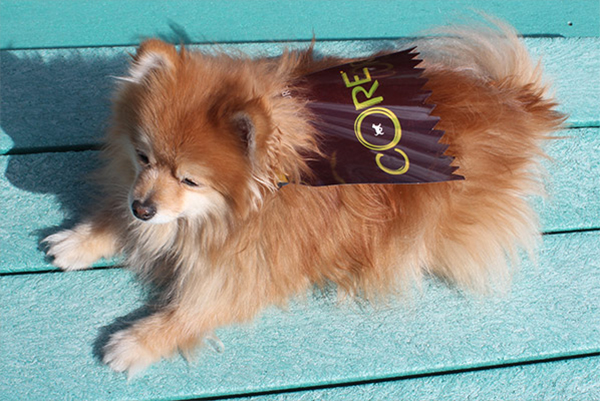
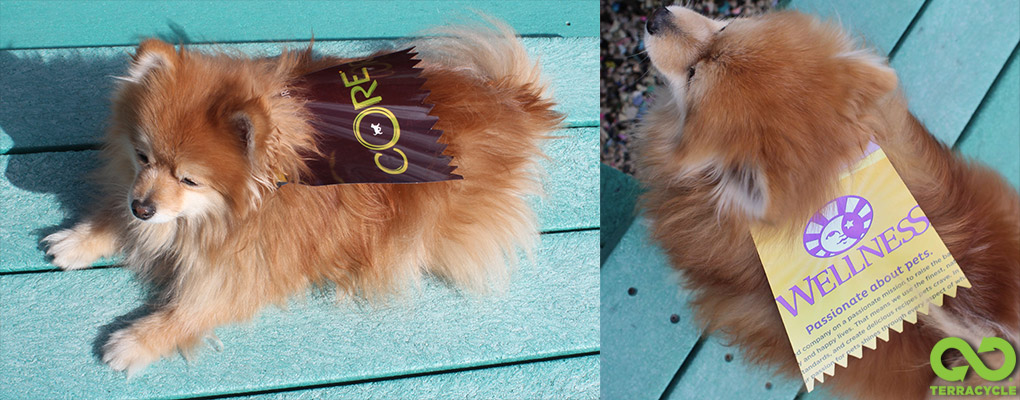
1. Wellness Dog Cape
What You’ll Need
- Wellpet Dog Food
- Bagclear packing tape
- ¼” flat elastic
Tools:
- ruler
- scissors
- pen
Instructions:
1. Start with a clean pet food bag, and cut the edges off.
2. Use your rule to draw a trapezoid that is 6” wide at the bottom, 4” wide at the top, and 7.5” tall.
3. Fold over the narrow end, about .75”
4. Use a length of tape to keep the fold closed.
5. Cut a 17.5” strip of elastic.
6. Loop it through the fold on the cape.
7. Tie and adjust accordingly so it fits your pet!
Design Tip: Cut the bottom in a funky pattern! Try a zig-zag or wavy shape!Endling line: Super dogs super upcycle!
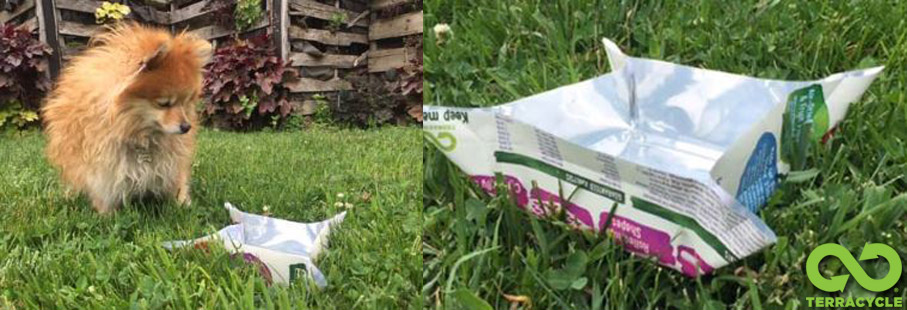
2. Collapsible Pet Water Bowl
Materials:
- Wellness Pet Food Bag
- 4 velcro tabs
- clear tape
Tools:
- ruler
- pen or marker
- scissor
Instructions:
1. Start with a clean pet food bag. Flatten out the package and measure the width. Measure and mark lines on both ends to make the length of the wrapper the same size as the width. A 10” square or smaller will probably work best. Cut along your marked lines.
2. Mark a border 2” from the edge along each side of the square. Fold and crease firmly along this line. Unfold and flatten it.
3. Fold up two sides at one corner of the square. Make a diagonal crease from the corner to the folded border creating an upright triangle. Repeat this for all corners, then unfold them. 4. Take the Velcro tabs, unfasten them, and stick each one on either side of the corner of the square, one per triangle. Make sure that they will line up when fastened. 5. Fold up the bowl at the corners and press the hook and loop fasteners together. You are ready to dish up your pet’s favorite snack in your new bowl!
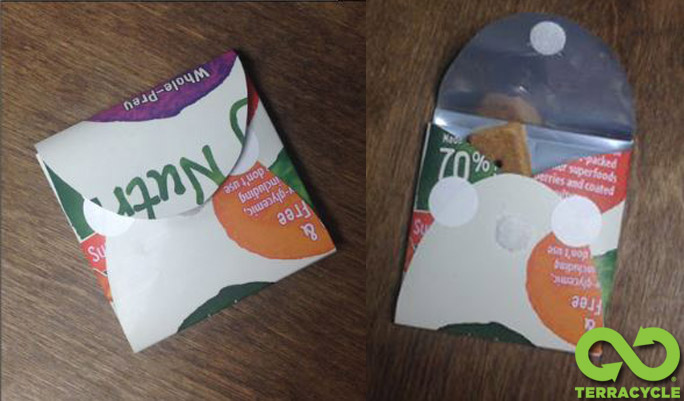
3. Pet Treat Holder
Materials:
- empty dog food bag
- ruler
- washable marker
Tools:
- scissors
- tape
- 1 self-adhesive Velcro® fastener
Instructions:
1. Start with a clean, empty dog food bag. Cut a square that is 7 ½ inches on each side. Centered inside the square, draw a smaller square that is three inches on each side. This smaller square will be 2 ¼ inches from all edges.
2. On the top edge of the smaller square, draw a semicircle that hits the top of the large square and starts and ends at opposite corners of the small square. Repeat for the other three sides. Cut around these lines.
Pro tip: To give your treat pouch dimension, make an extra ¼ inch fold at the base of each semicircle.
3. Along the lines of the small square, fold all four semicircles towards the center.
Your piece should fold up to the size of the small square. Tape the bottom flap and two side flaps in place.
4. Attach one side of the self-adhesive Velcro® fastener on the inside of the top flap. Then, fold down the flap so the other side of the self-adhesive Velcro® fastener attaches to the outside of the bottom flap. Let the Velcro® fastener stick where it naturally landed after you folded the top flap down.
Fill your new treat pouch with your favorite treats for your favorite pet!